

Introduction
Table of Contents
Bubbles are the #1 invisible enemy of epoxy resin projects. On a good day, your river table or art panel cures crystal-clear and glossy. On a bad day, tiny epoxy bubbles rise to the surface—or worse, get trapped deep inside—ruining clarity, gloss, and sometimes even structural strength.
I’m Hamed Shahsavandi, founder of EpoxyRescue.com and author of the Persian bestseller Profitable Wooden Pieces. After teaching over 200 live epoxy workshops and training thousands of students, I can confidently say: bubbles don’t have to ruin your resin projects. With the right knowledge, you can both remove epoxy bubbles after pouring and, more importantly, prevent bubbles from forming in the first place.
In this complete guide, you’ll learn:
-
The real science behind why bubbles happen in epoxy resin.
-
Step-by-step methods to rescue epoxy with bubbles (early, late, or fully cured).
-
Professional prevention standards based on Technical Data Sheets (TDS), environment control, and proper mixing.
-
Real-world workshop stories that show you what works—and what fails.
-
A Rescue Timeline cheat sheet to act fast and effectively.
Why Bubbles Happen in Epoxy Resin
Mixing Too Fast
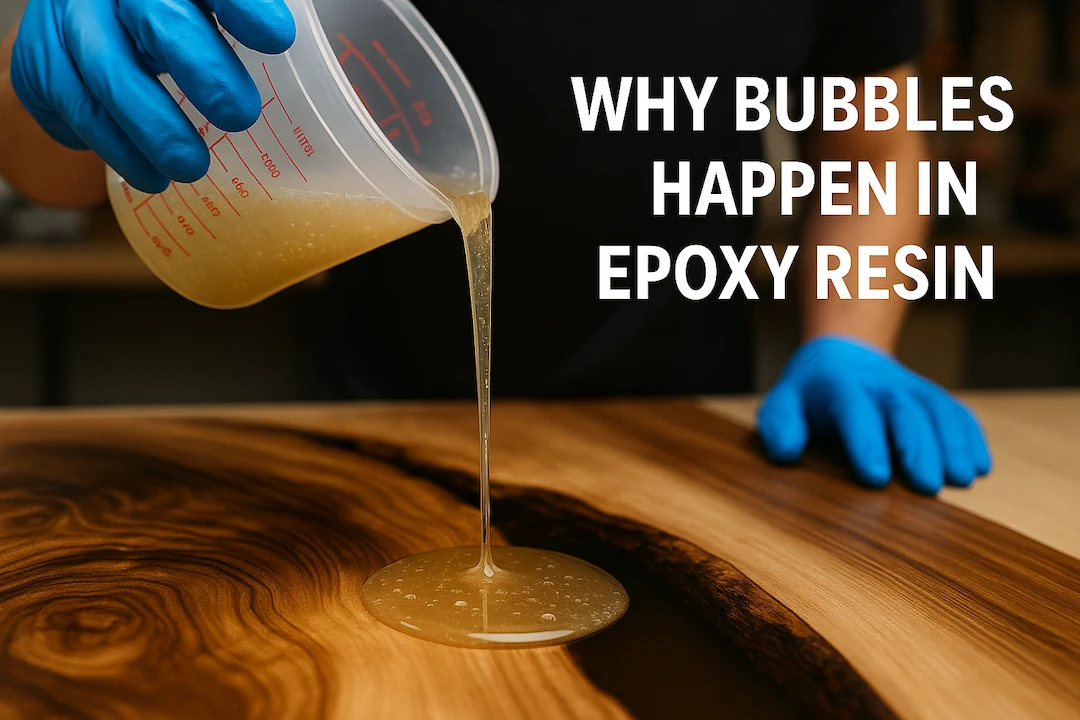
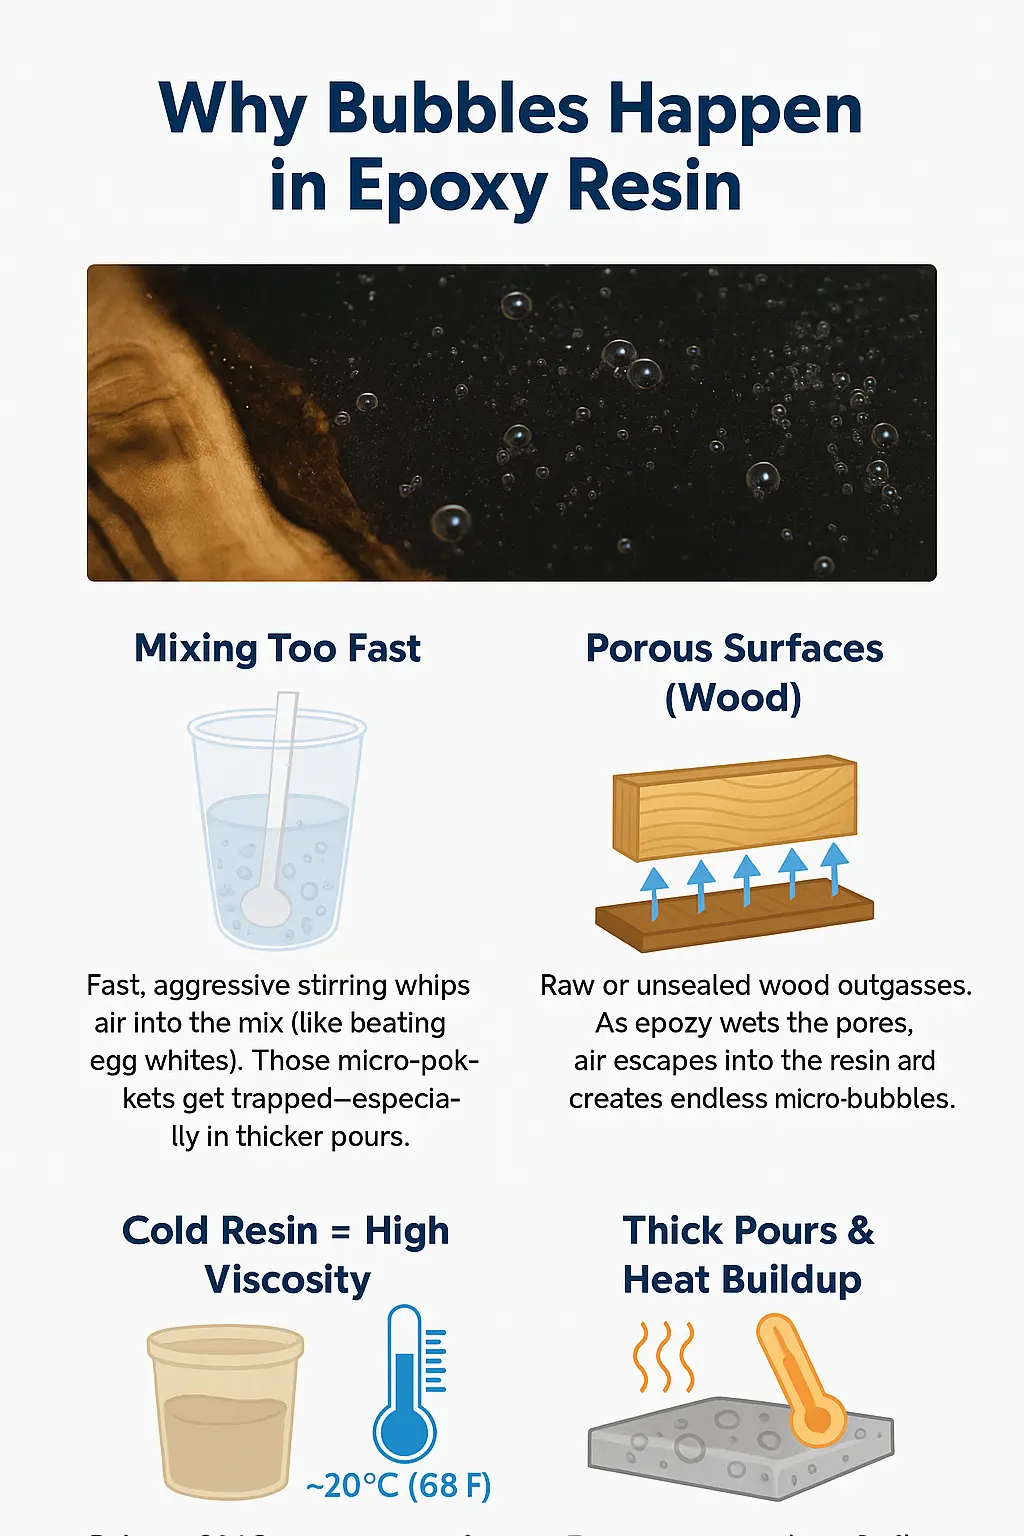
Fast, aggressive stirring is the first big culprit. When you stir epoxy like egg whites, you whip in countless micro-bubbles. These bubbles rise too slowly—especially in thicker pours—and get trapped inside.
Pro insight: In almost every failed workshop pour I’ve seen, the student stirred way too fast. Slow, deliberate mixing always wins.
Porous Surfaces (Wood Outgassing)
Raw or unsealed wood has tiny pores that trap air. When epoxy resin wets the surface, the air inside escapes upward as bubbles. This is called outgassing, and it can ruin the clarity of a flood coat.
Example: A live-edge walnut slab without a seal coat will almost always bubble as air escapes through its natural pores.
Cold Resin = High Viscosity
When epoxy is cold (below ~20 °C / 68 °F), it thickens like honey from the fridge. Thick resin not only traps bubbles but also slows their natural rise.
That’s why professionals condition resin and hardener at room temperature for 24 hours before mixing.
Thick Pours & Heat Buildup
Epoxy cures through an exothermic reaction (it generates heat). In thin layers, heat escapes safely. In thick pours, however, heat builds up like a furnace. This not only speeds up curing but also expands micro-bubbles and freezes them in place.
Workshop Story: A student once poured a 2″ (5 cm) tabletop using regular epoxy (not deep-pour). Within an hour, smoke, violent bubbling, and cracks appeared. It looked like champagne boiling in a pot. The project was ruined because the wrong resin system was used.
Rescue First: How to Fix Bubbles After Pouring
Rule of Thumb
The earlier you act, the cheaper and easier the rescue. Waiting usually makes bubbles harder to fix.

The Golden 30 Minutes: Torch / Heat Gun / Toothpick
In the first 20–30 minutes (before gel phase), you have the highest chance of success:
-
Heat gun (low setting): Sweep quickly 10–15 cm above the surface. This lowers surface tension and pops bubbles.
-
Torch (quick passes): Short sweeps only. Never let the flame linger—it can scorch wood or overheat resin.
-
Toothpick/pin: Perfect for stubborn bubbles near edges, inclusions, or molds.
Workshop story: During a jewelry mold workshop, one student panicked at surface bubbles. With patient heat-gun passes, every bubble was removed in under 10 minutes—and the piece cured perfectly clear.
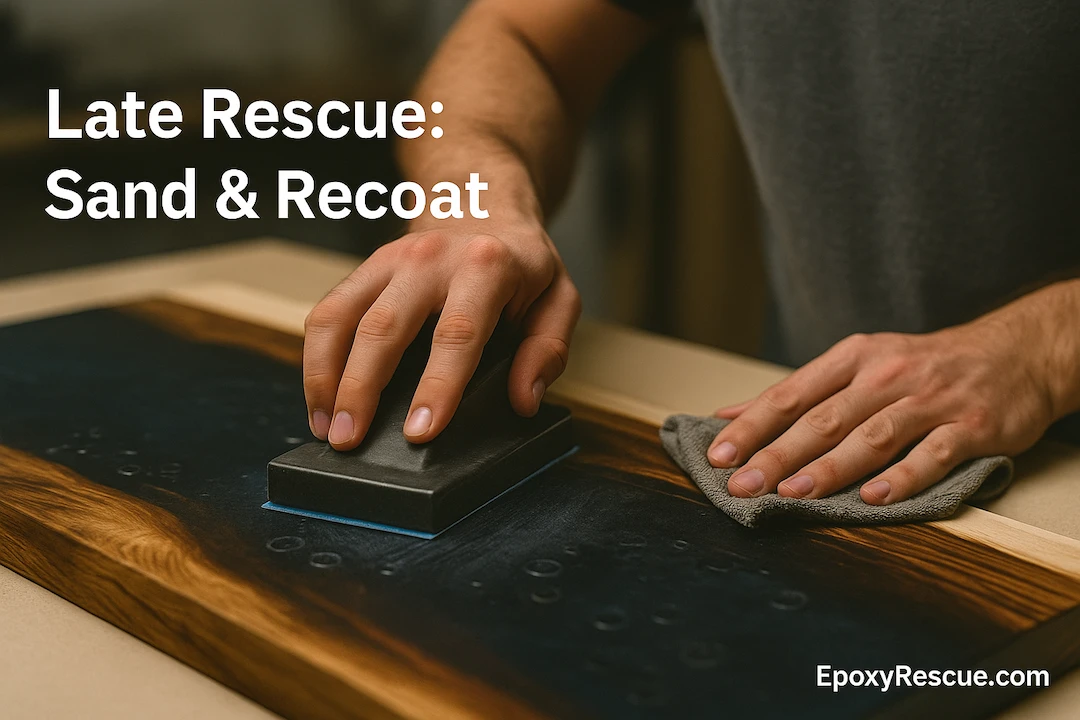
Late Rescue: Sand & Recoat
Missed the early window and bubbles cured near the surface? Here’s the fix:
-
Sand the surface with 220–320 grit until bubbles are exposed.
-
Wipe clean with isopropyl alcohol (IPA) on a cloth.
-
Apply a fresh flood coat.
-
Do quick, gentle heat passes to release any new bubbles.
Fully Cured & Still Bubbly: Controlled Re-Pour
If bubbles are deep or widespread:
-
Level-sand the entire surface.
-
Re-pour in thin lifts (≤ 1–2 cm / 0.4–0.8″).
-
Use heat passes between layers to pop bubbles before they’re trapped.
-
For very deep projects, switch to a deep-pour epoxy designed for thick sections.
Pro insight: Re-pouring takes longer but almost always saves the project instead of throwing it away.
My Epoxy Didn’t Harden! Top 3 Causes of Uncured Epoxy Resin
Prevention: Professional Standards (Plan, Don’t Patch)
If you really want to know how to remove bubbles from epoxy resin effectively, the best secret is actually prevention. Professionals don’t rely on “fixing” problems—they design their process so bubbles never appear.

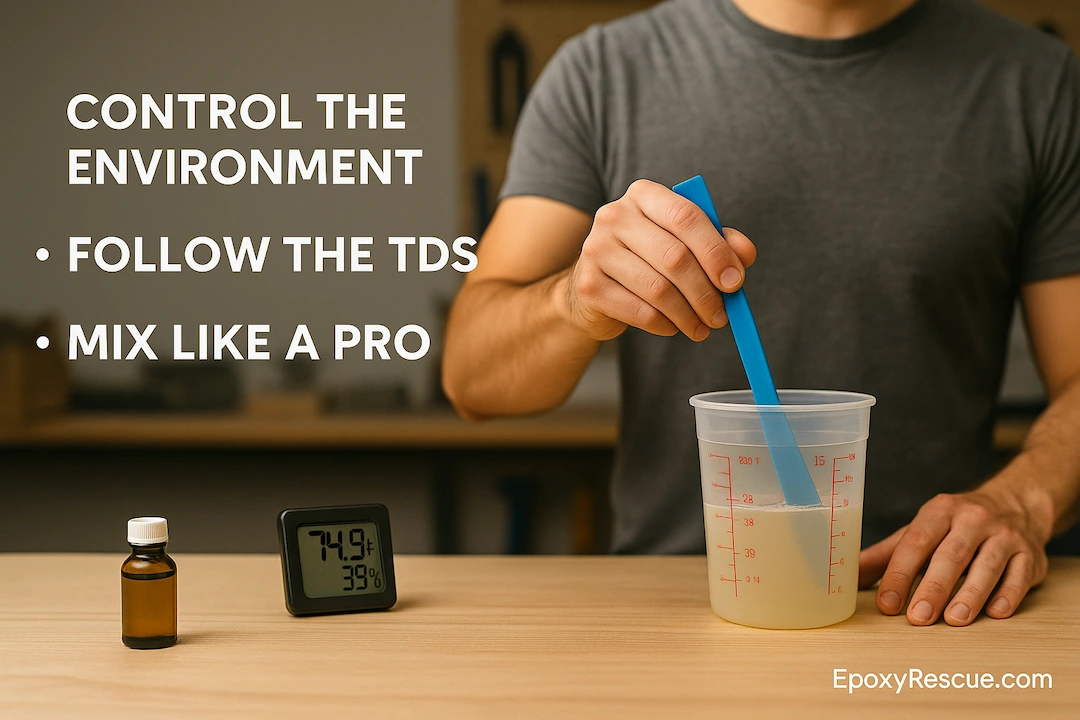
Control the Environment
-
Temperature: Keep your workspace stable at 23–25 °C (73–77 °F).
-
Humidity: Maintain RH below 40% to prevent not only bubbles but also amine blush (a cloudy, sticky surface defect).
-
Monitoring: Use a digital thermometer and hygrometer—non-negotiable tools.
-
Conditioning: Store epoxy resin and hardener in your shop 24 hours before use. This ensures both components match the environment and don’t “shock” when mixed.
Pro insight: Most hobbyists blame “bad resin,” but in 70% of cases I’ve seen, the real problem is uncontrolled environment conditions.
Follow the TDS (Technical Data Sheet)
Your resin’s TDS is the rulebook. It tells you:
-
Correct mix ratio (by weight, not volume unless specified).
-
Working time (open time before gel).
-
Maximum pour depth.
-
Cure schedule (soft cure vs full cure).
-
Viscosity (which determines how easily bubbles escape).
If you respect the TDS, you solve 80% of bubble problems before they happen.
Mix Like a Pro (Slow & Precise)
-
Digital scale: Measure by weight, never by eye.
-
Slow stir (3–5 min): Scrape sides and bottom of the cup.
-
Double-cup method: After mixing, pour into a new clean cup and stir briefly again. This ensures complete homogeneity and reduces unmixed streaks that can bubble later.
Seal Porous Surfaces (With the Same Epoxy System)
Unsealed wood = guaranteed bubbles. The solution: a seal coat.
-
Sand wood to 120–220 grit and vacuum dust.
-
Apply a thin coat of the same epoxy system you’ll use for the flood coat.
-
Use quick, gentle heat to release micro-bubbles in the seal coat.
-
Pour the flood coat when the seal coat is still tacky (follow TDS recoat window).
Never use polyester or other resins under epoxy.
Why?
-
Poor chemical adhesion → delamination risk.
-
Different shrinkage rates → micro-gaps and cracks.
-
Polyester’s waxy cure layer → fisheyes and poor wet-out.
-
Rigidity mismatch → stress and peeling over time.
Pour in Professional Lifts
-
Tabletop epoxy: ≤ 1–2 cm (0.4–0.8″) per pour.
-
Deep-pour systems: Follow rated thickness (often 2–4″).
-
Always torch or heat-gun lightly after each lift.
Pro tip: Thin, controlled lifts take longer—but the result is glass-clear and bubble-free.
Real Workshop Stories (Epoxy Rescue in Action)
Story 1 — “Champagne” River Table
A one-shot 2″ pour with tabletop epoxy trapped thousands of bubbles and overheated.
Rescue: Level sand → switch to deep-pour epoxy → pour 1 cm lifts with controlled heat. Took a week longer, but the table was fully saved.
Story 2 — Cloudy Wall Art (No Seal Coat)
Raw wood outgassed into the flood coat. The surface turned hazy and rough.
Rescue: Sand to 320 grit → clean with IPA cloth → fresh flood coat. Final result: flawless clarity.
Story 3 — Torch Abuse
A student held a torch flame too long, creating ripples and micro-cracks.
Rescue: Full re-pour required. Lesson learned: heat is a precision tool, not brute force.
Pro Tips & What NOT to Do
✅ Do:
-
Weigh ratios accurately and keep a mixing log.
-
Control temperature & humidity with proper tools.
-
Store materials in your workspace 24h before use.
-
Follow the resin’s TDS strictly.
-
Seal porous wood with the same epoxy system.
-
Use sweeping heat passes, never stationary.
❌ Don’t:
-
Don’t “eyeball” resin-to-hardener ratios.
-
Don’t exceed the rated pour depth.
-
Don’t torch excessively (causes ripples, yellowing, or cracks).
-
Don’t mix polyester with epoxy.
-
Don’t spray solvents (like alcohol) onto fresh resin to “melt” bubbles—causes haze + fire hazard.
Rescue Timeline (When to Act)
Timing depends on your resin’s formulation. Always check gel/cure times in the TDS.
-
0–30 min (Open Time): Heat-gun/torch passes, toothpick work.
-
30–120 min (Gel Phase): Gentle re-heating, surface babysitting.
-
~24 h (Soft Cure): Sand 220–320 → clean → new flood coat.
-
Full Cure (Days): Only mechanical approach works → sand level + re-pour thin lifts.
Use this timeline as a cheat sheet, but adapt it to your resin system.
Extended FAQ
Q: Why do bubbles keep appearing after I torch them?
A: Fresh bubbles can rise as resin levels or as wood keeps outgassing. Babysit the surface with brief heat passes during open time. Always seal wood first.
Q: Can I fix bubbles the next day?
A: Yes. Sand to 220–320 grit, clean with IPA cloth, then apply a new flood coat. For deep defects, re-pour in thin lifts.
Q: Are bubbles worse in deep pours?
A: Absolutely. Heat buildup expands bubbles. Use a deep-pour resin system and stay within rated thickness.
Q: Is alcohol spray safe for bubble removal?
A: No. It hazes the finish and is a fire risk. Controlled heat is safer and more effective.
Q: Do I need a vacuum or pressure pot?
A: Helpful for casting small parts (jewelry, molds), but not required for tables. Proper mixing, sealing, thin lifts, and controlled heat solve 90% of cases.

Key Takeaways
-
Plan, don’t patch. Professional results come from prevention.
-
Environment first: 23–25 °C, RH < 40%.
-
Seal coats: Always the same epoxy system as your flood coat.
-
Mixing: Slow, precise, double-cup method.
-
Rescue: Possible at every stage—but the earlier, the easier.
-
Thin lifts + gentle heat = bubble-free clarity.